Prefer watching than reading? No problem, we've got you covered 👇
What are Campaigns?
In WhatsApp, you can only contact users proactively if they've subscribed to your channel through the Opt-in block. Once you have collected their consent to contact them, you can send them a Message Template to start chatting with them.
What Campaigns do is give you the possibility to send that Message Template to a group of your subscribers which you collected into one Audience.
Landbot brings your campaigns into the most engaging channel there is, using rich content, automation, and personalization🤩
Reach your audience with segmented WhatsApp Campaigns, engage existing customers, and keep the conversation going!
Messaging Limits
Messaging limits apply to the entire business portfolio and are shared by all numbers within it. This means one number could use up the portfolio’s messaging capacity.
For newly created portfolios, the default messaging limit is 250 messages. You can increase this limit through scaling:
With WhatsApp Campaigns, you can reach users who have opted in to receive proactive messages from you.
You can select a specific segment of subscribers, choose the message to send, schedule when it will be sent, and decide if it should trigger a WhatsApp bot.
Check this article to find more information about how to get Subscribers (Opt-ins) to your WhatsApp 🚀
Use Message Templates
With Campaigns, you can re-engage your subscribed users and notify them about anything relevant to your services.
To start these conversations, you’ll need to use Message Templates. Make sure they’re approved by WhatsApp before launching a new Campaign 😉
Check this article to find more information about Message Templates (proactive messages) and how to get them approved 🙌
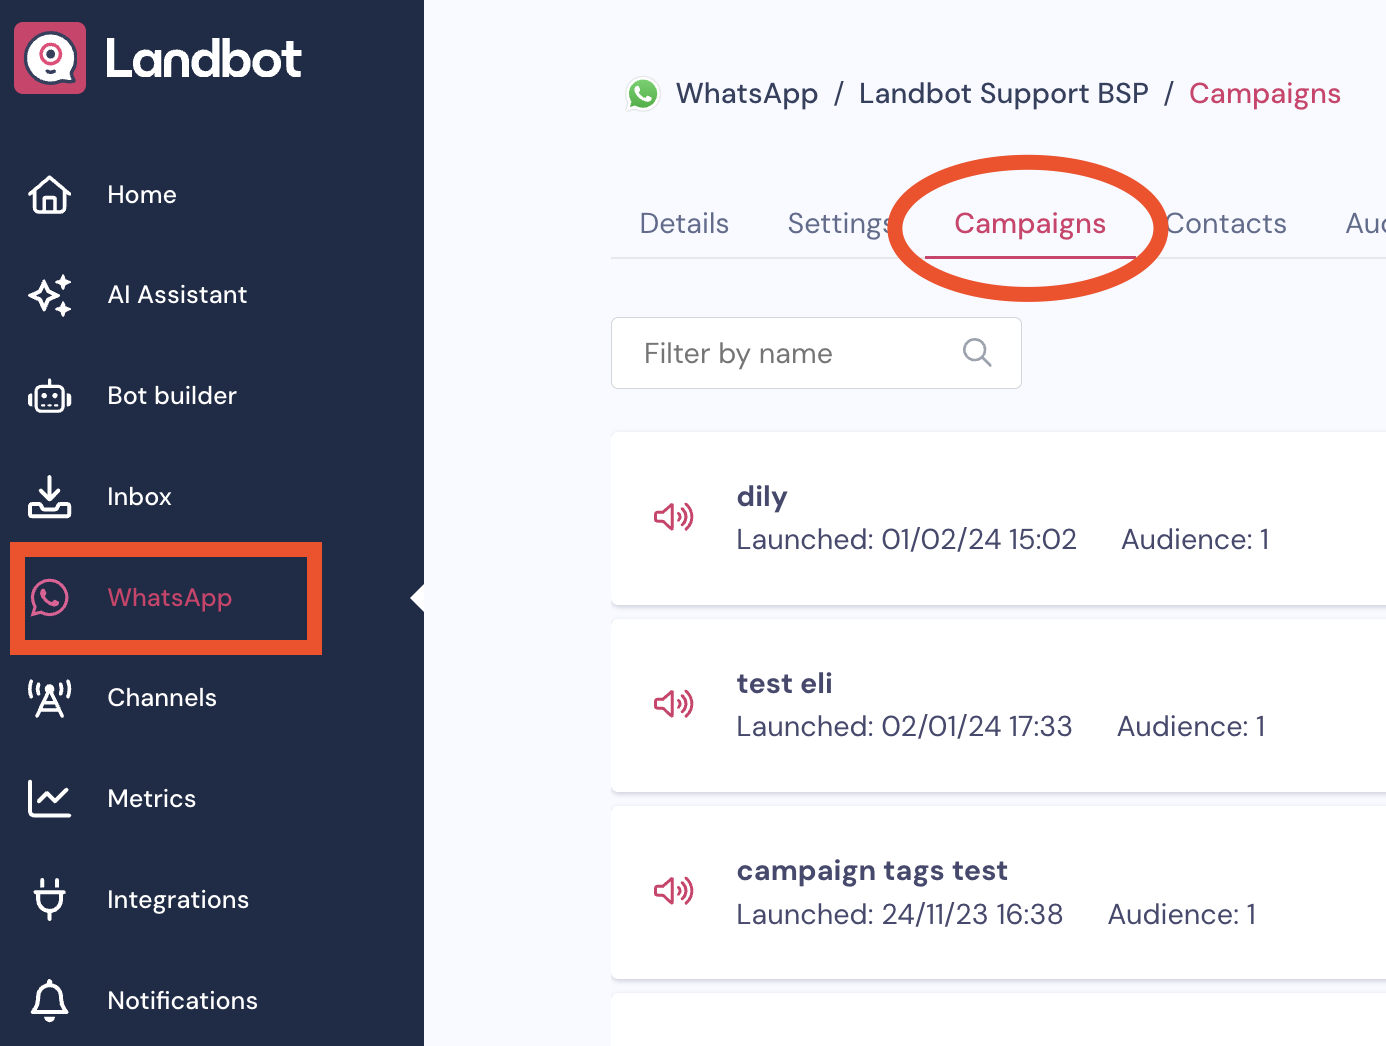
Campaigns section on your WhatsApp channel
To access the Campaign section go to your WhatsApp channel > Campaigns section:
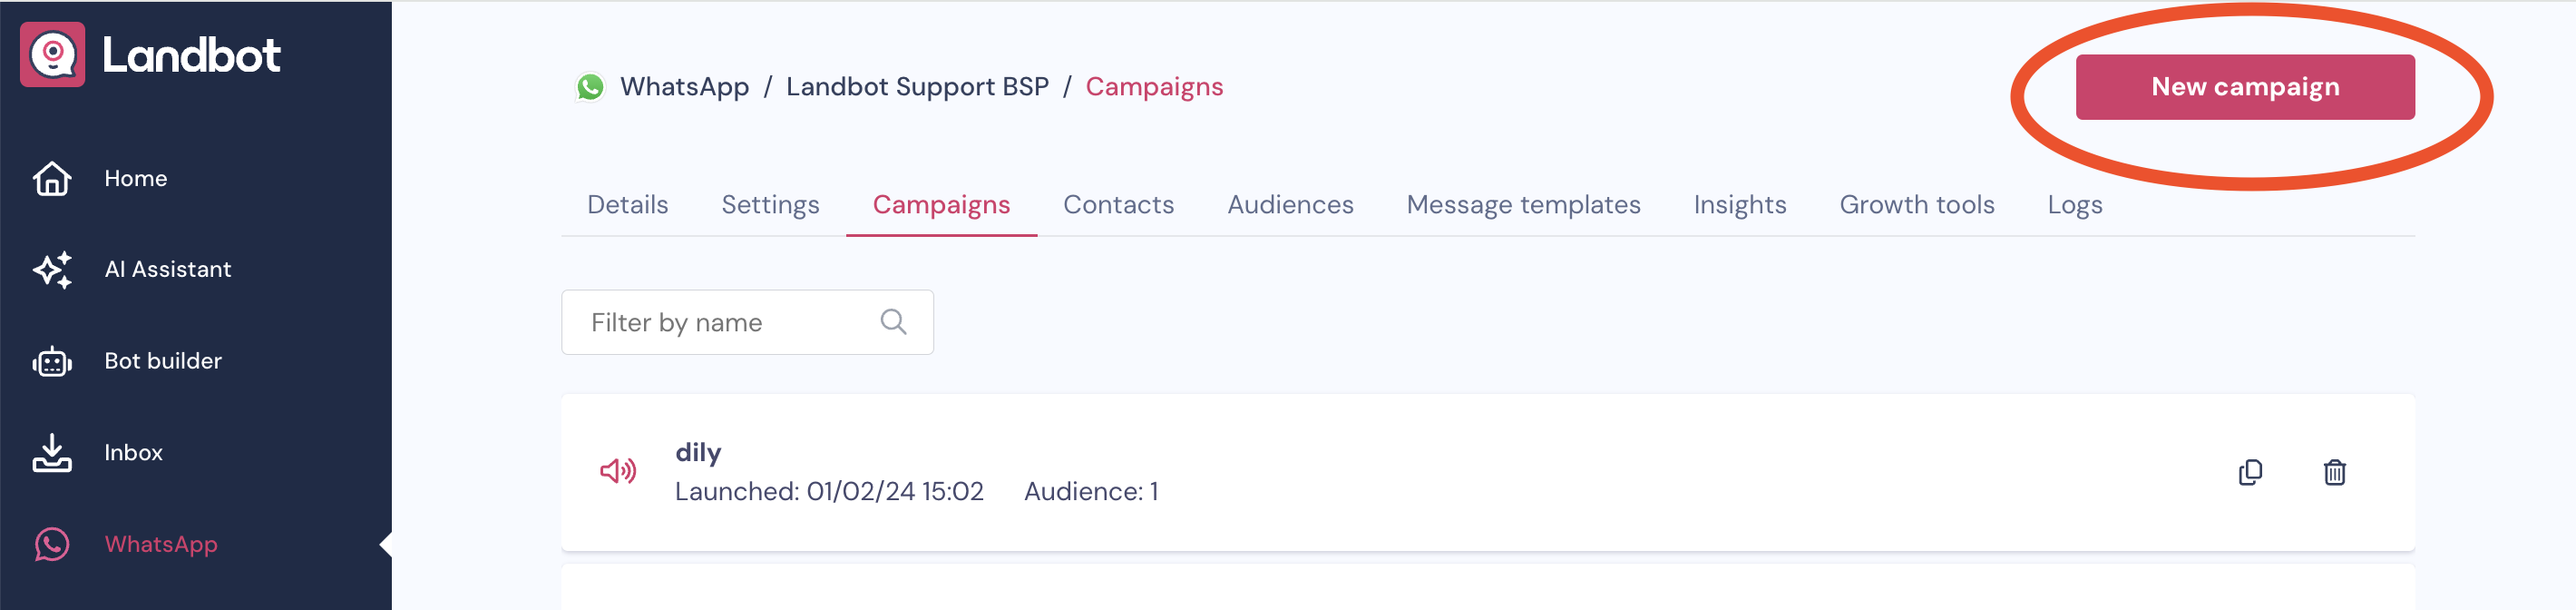
How to create a Campaign
Once you're in the Campaigns section, click on the button New campaign to create a new one:
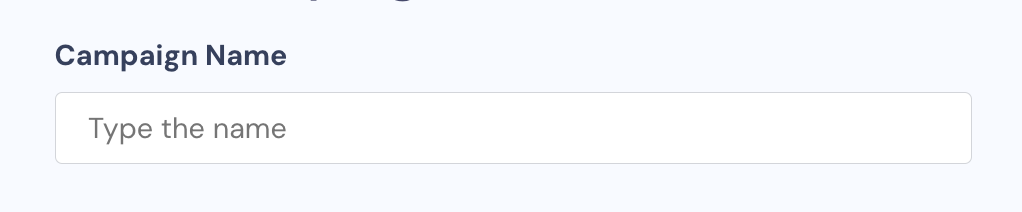
Campaign setup:
Give a Name to your campaign (Mandatory)
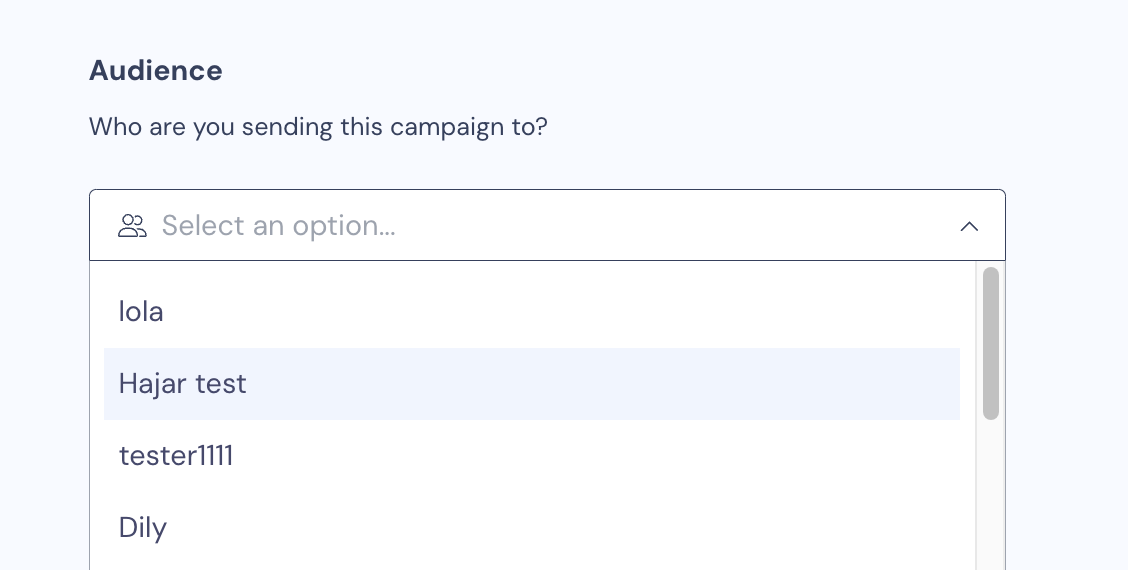
Choose the Audience you want to send the campaign to (Mandatory)
The audience must be created previously in the Audiences section of your WhatsApp channel/Contacts section of your account.
Check this article for more information about the Audiences section, and this article if you have the new Contacts section.
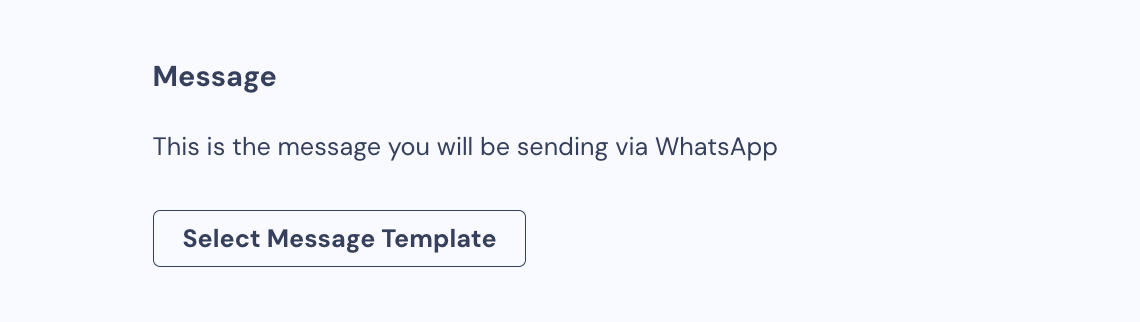
Choose the Message Template (Mandatory)
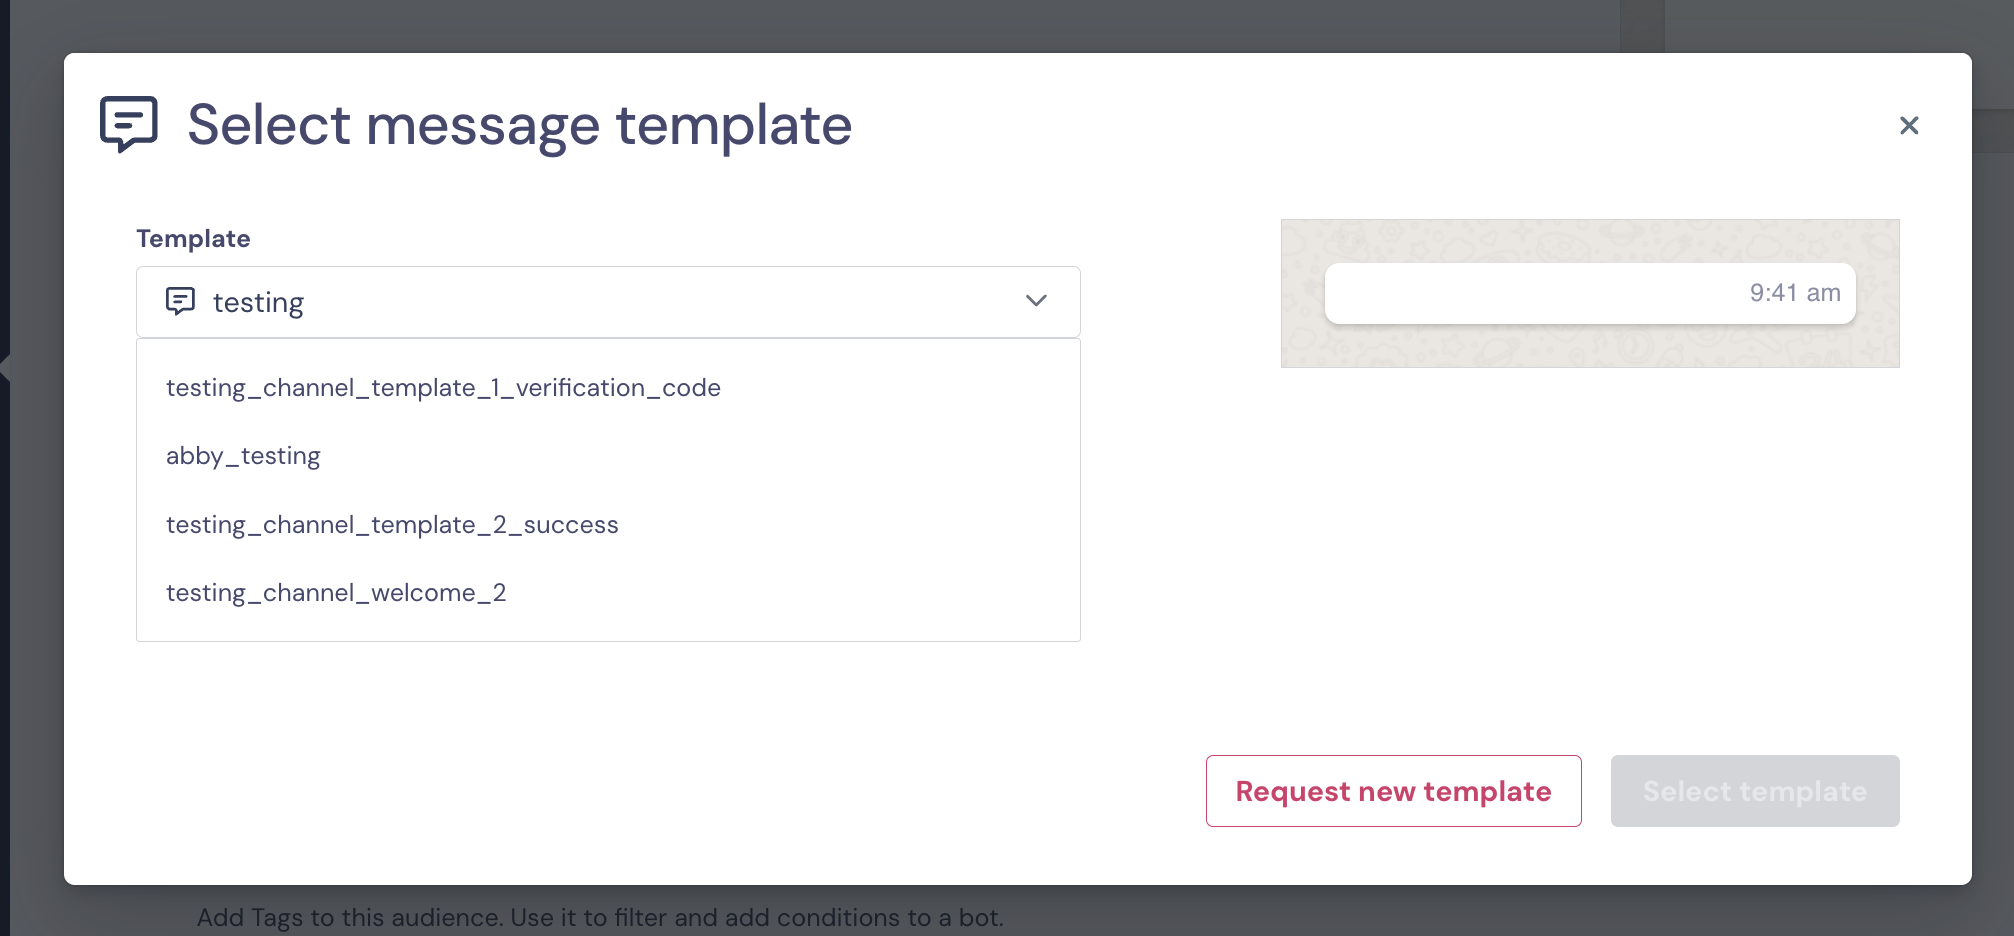
Now it’s time to pick the Message Template you want to use.
You can either select one of your approved templates to send to your audience or request a new template.
However, if you request Keep in mind that if you request a new template, Meta will need time to review it, so it won’t be ready for immediate use.
Note: For more information about Message Templates and how to request them, please refer to this article.
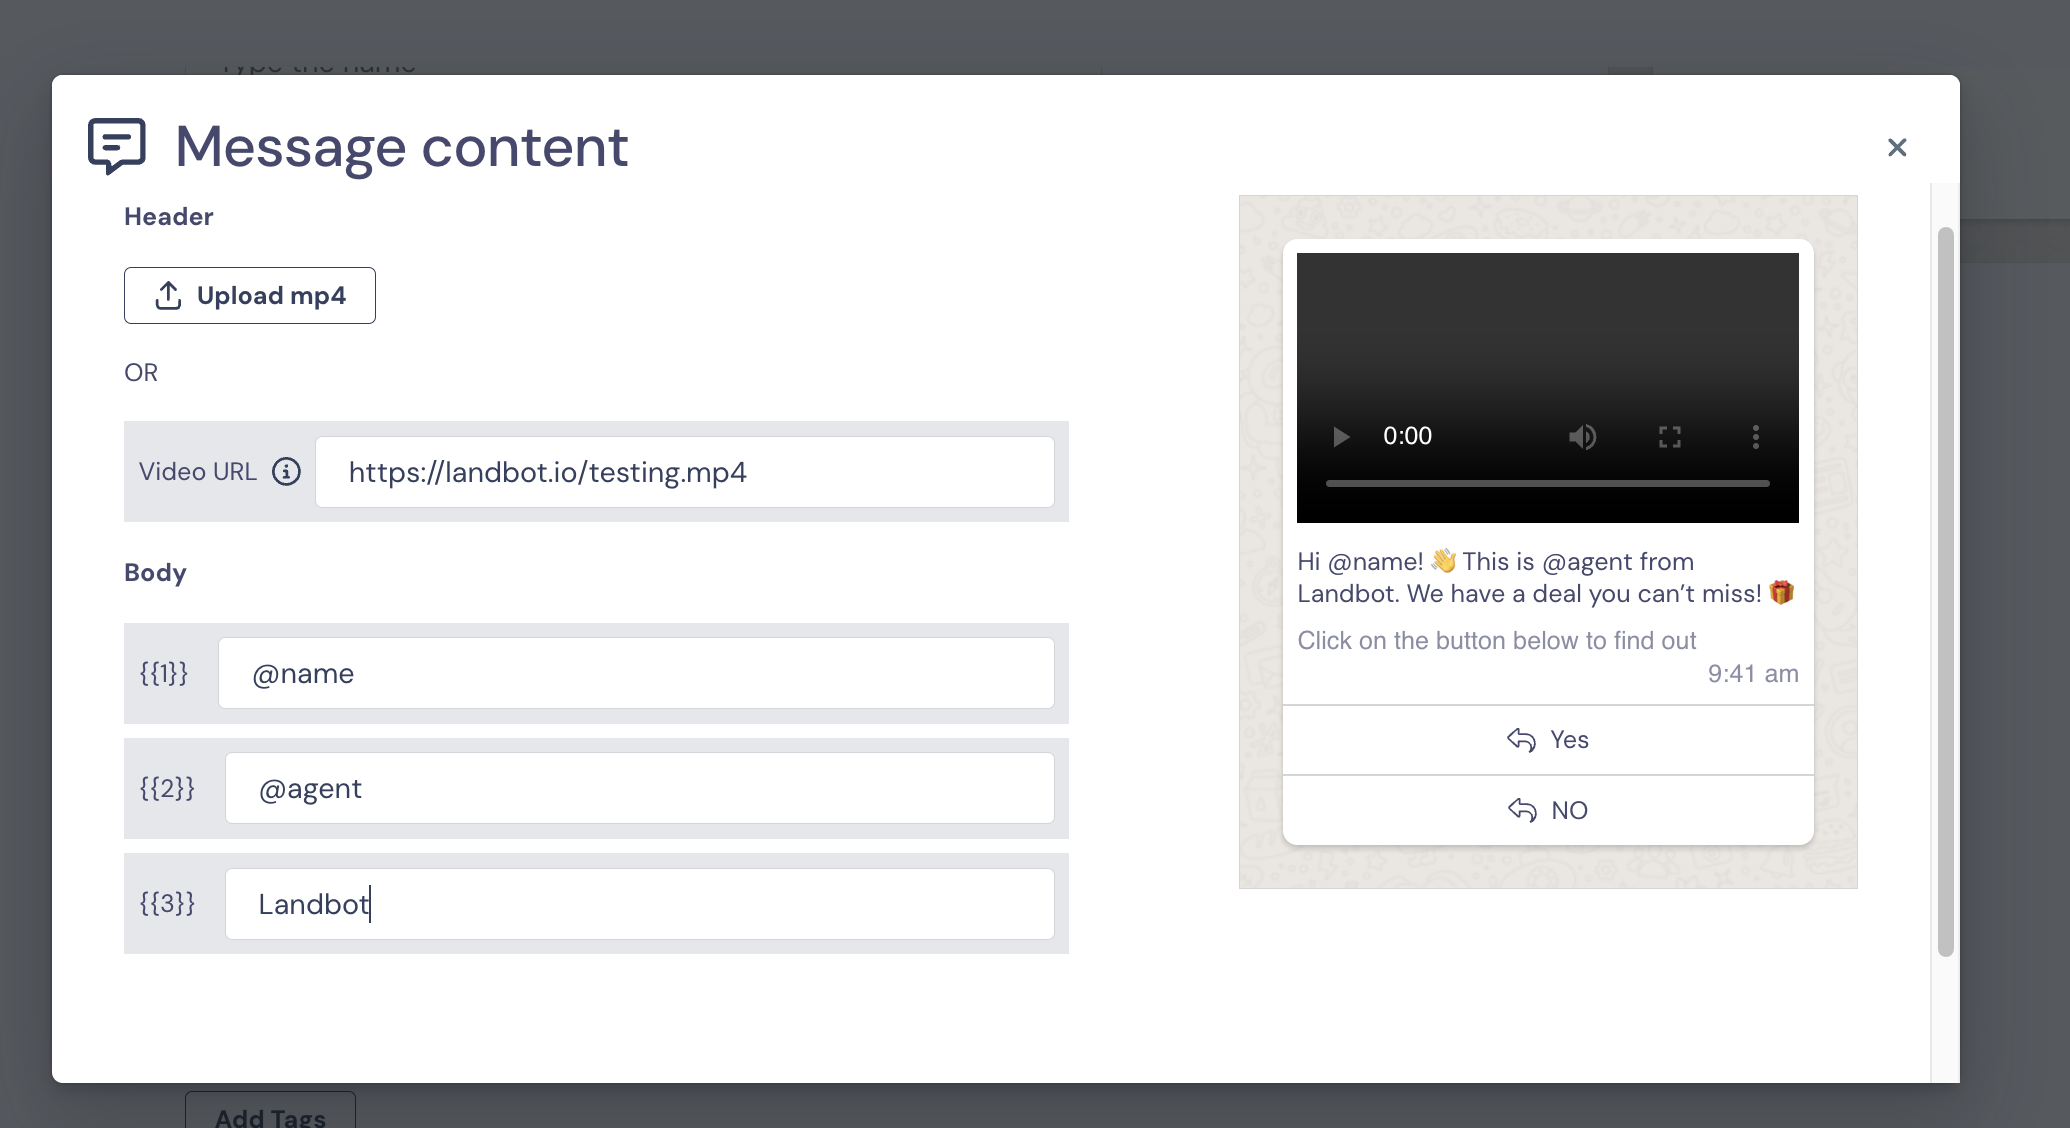
If your Message Template has parameters, you’ll see fields to fill in once it’s selected. Here’s how to use them:
✨ Dynamic values (fields): Add @ followed by the field name (e.g., @name).
📝 Static values (plain text): Just type the text you want to appear.
📎 Header content (image, video, or file): Enter the URL of the file you want to include.
This way, each part of your template will be filled correctly before sending.
Note: If your Message Template includes media in the Header (files, images, or videos), you’ll need to add the link to the file each time you send it. It isn’t saved automatically, so even if you included it when requesting the template, you must enter it every time.
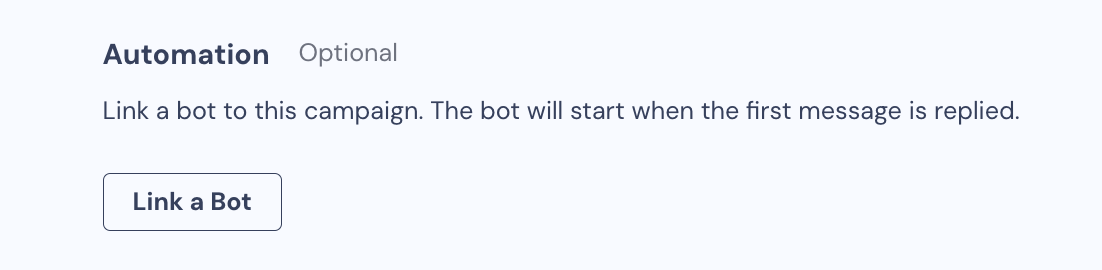
Select the Bot you want to be triggered through Automation (Optional)
You can link your Campaign to a specific bot. This means that when a user replies to the Message Template you sent, that bot will be triggered.
This is optional - if you don’t select a bot, the parent bot (the one linked to your WhatsApp channel) will handle the reply instead.
For more information about linking a bot to your WhatsApp channel, please check this article.
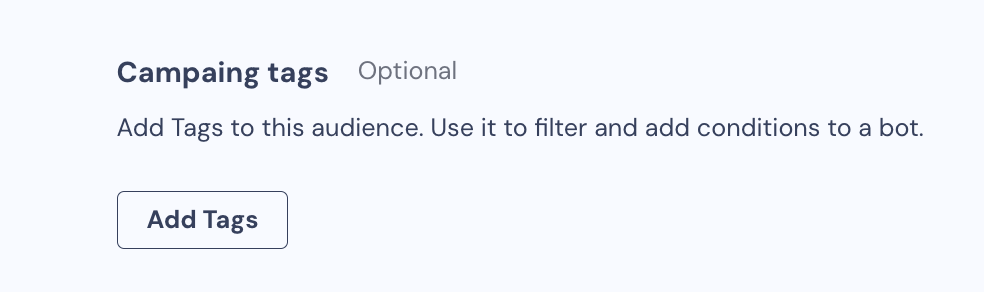
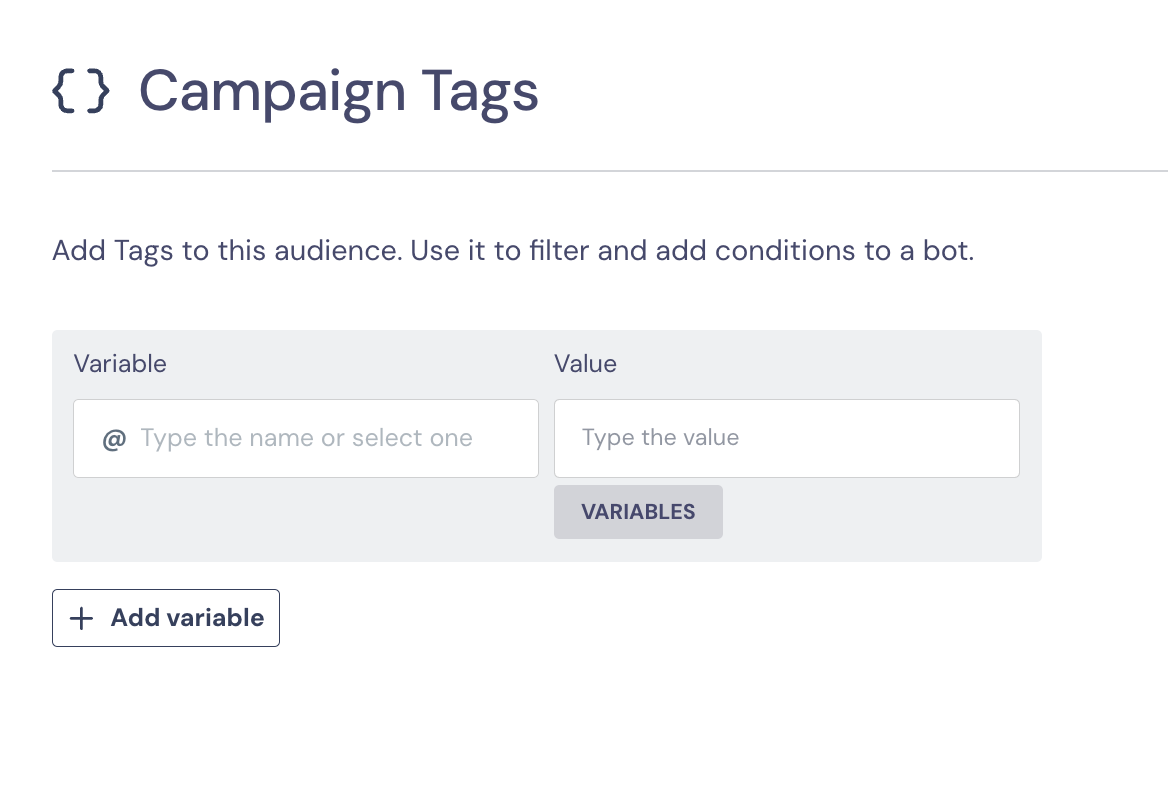
Add Campaign tags (Optional)
You can add and configure new Fields for your campaign’s users. These Fields can then be reused in a chatbot flow or when creating new audiences.
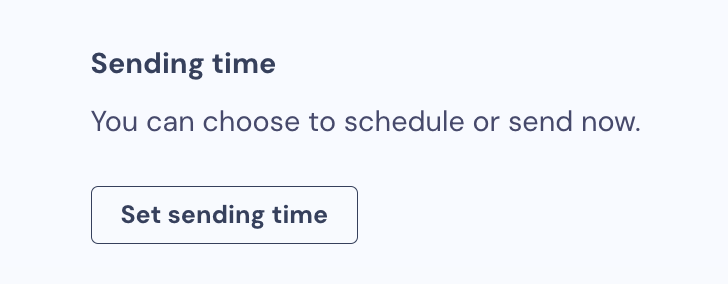
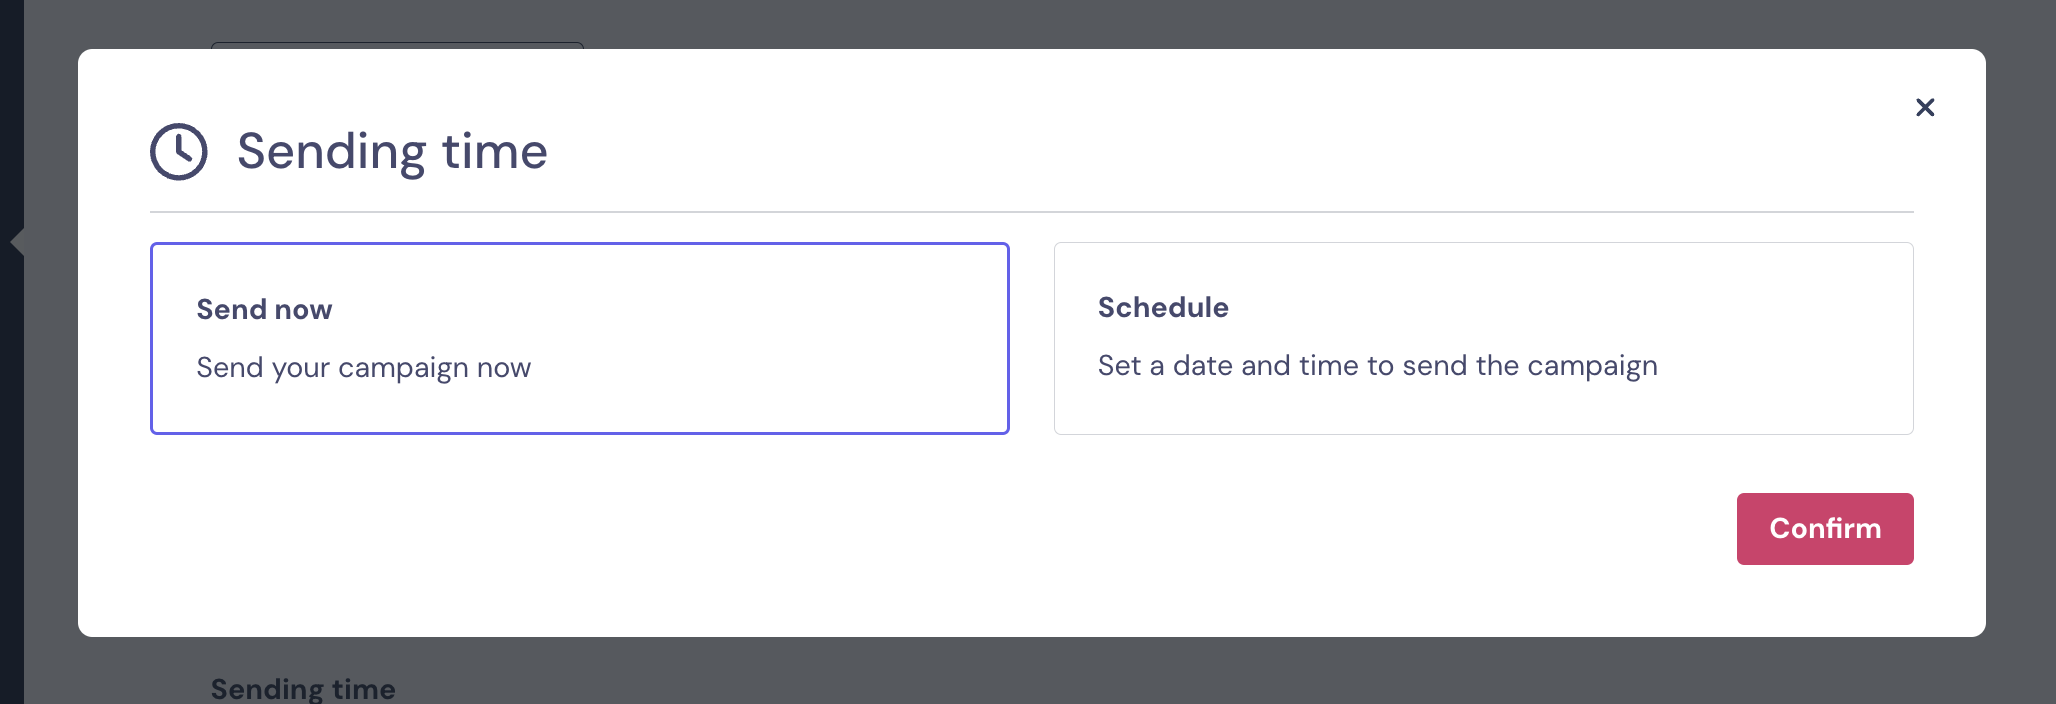
Schedule the campaign (Mandatory)
There are 2 options:
Launch the campaign immediately so that it's sent once you click on the Trigger campaign button;
Set a custom date and time for the launch.
The timezone is based on your browser's settings, so if your users are from other countries, you'll need to calculate the hour based on their timezone!
Choose between Saving the draft of this Campaign to launch it later or Send it now.
And that's it! 🙌
Edit a Campaign
If you have created a campaign but didn't launch it yet (saved as a draft or scheduled for a future date), you will still be able to edit all the settings.
However, if your campaign was already launched, you will not be able to change any of the settings.
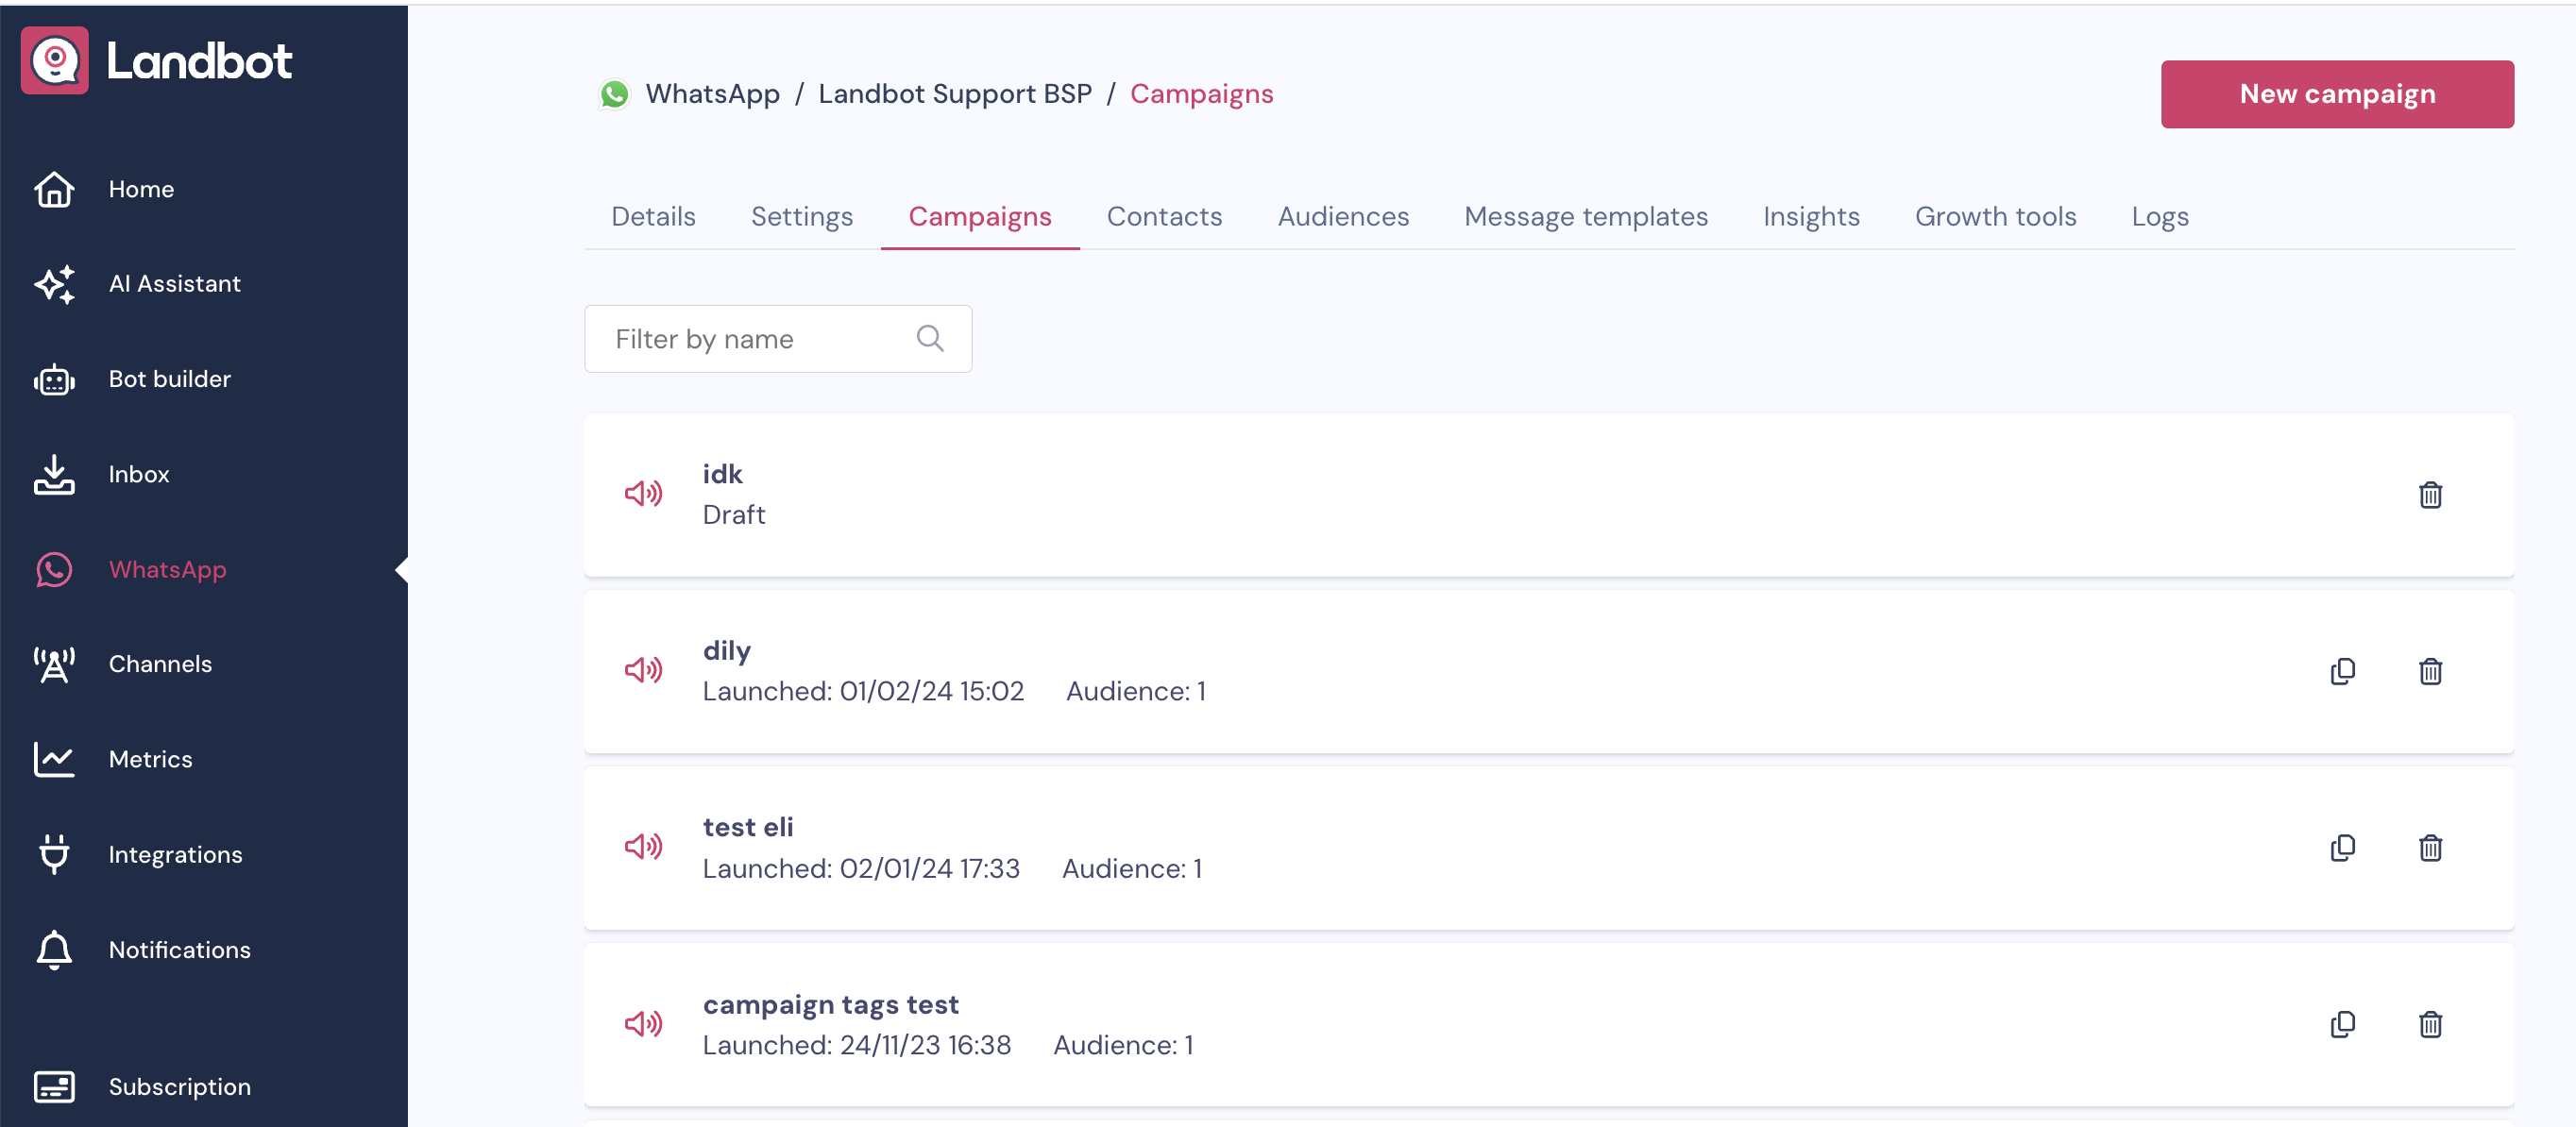
Campaigns overview and metrics
When you already have many campaigns created, your Campaigns page will look like this
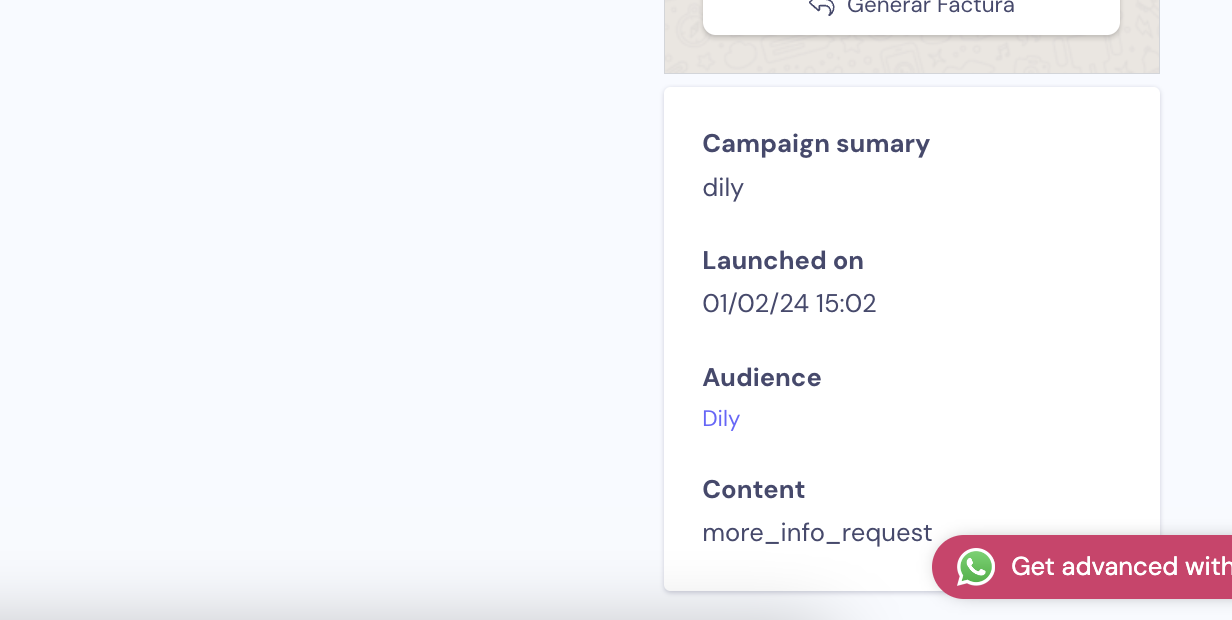
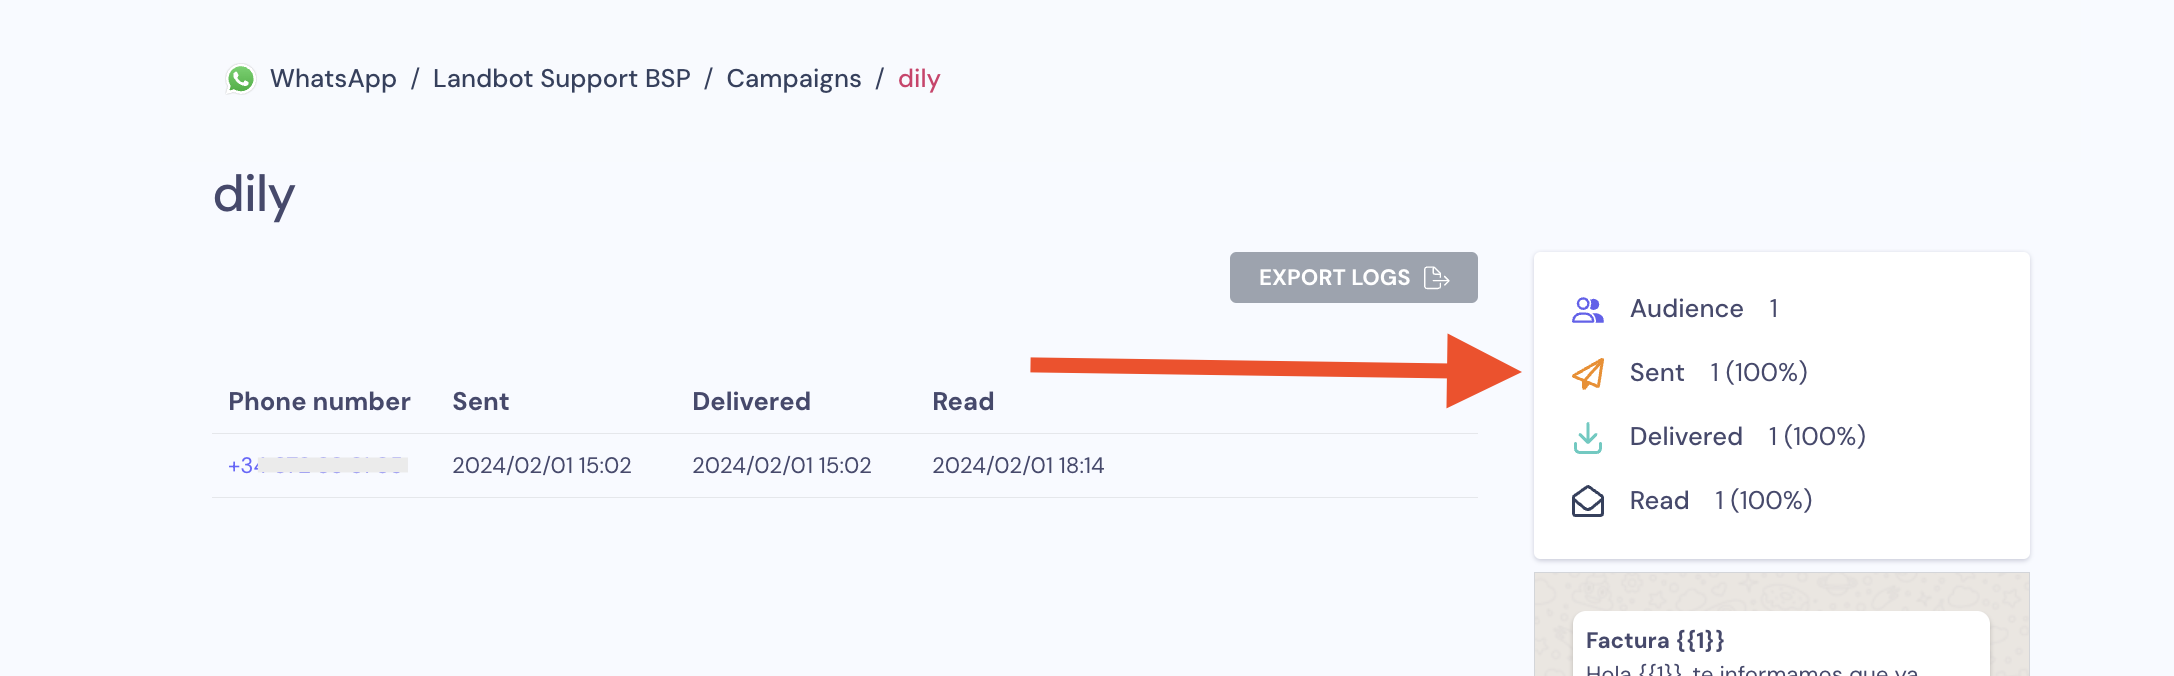
Once you access a specific campaign, you'll be able to
Check and export logs
Check metrics
Check the content of the campaign (name, launch date, audience, and message template sent)Each campaign includes a Metrics summary, showing:
📊 Audience: All users you selected for the campaign
✉️ Message Templates sent: All templates that were actually sent
📬 Delivered: Messages that successfully reached users
👀 Read: Users who opened the message - note that some personal WhatsApp settings might prevent this info from being shared
The dates and times you see in each column don’t reflect when you sent the templates in Landbot. Instead, they show when Meta confirms the message was sent, delivered, or read.
Why might users not receive your message immediately?
The user’s phone could be off, out of service, or the WhatsApp app isn’t installed or active. Timing can vary for each user individually, and Meta might also delay messages depending on several reasons.
FAQ
Why is my campaign not sending?
If you are having trouble with your campaigns getting sent or they are not delivered to all users, it might be due to en error generated.
Please read this article where we help you understand the most common errors and how to fix them.
 Updated
by Desirée M
Updated
by Desirée M